Installation Guide
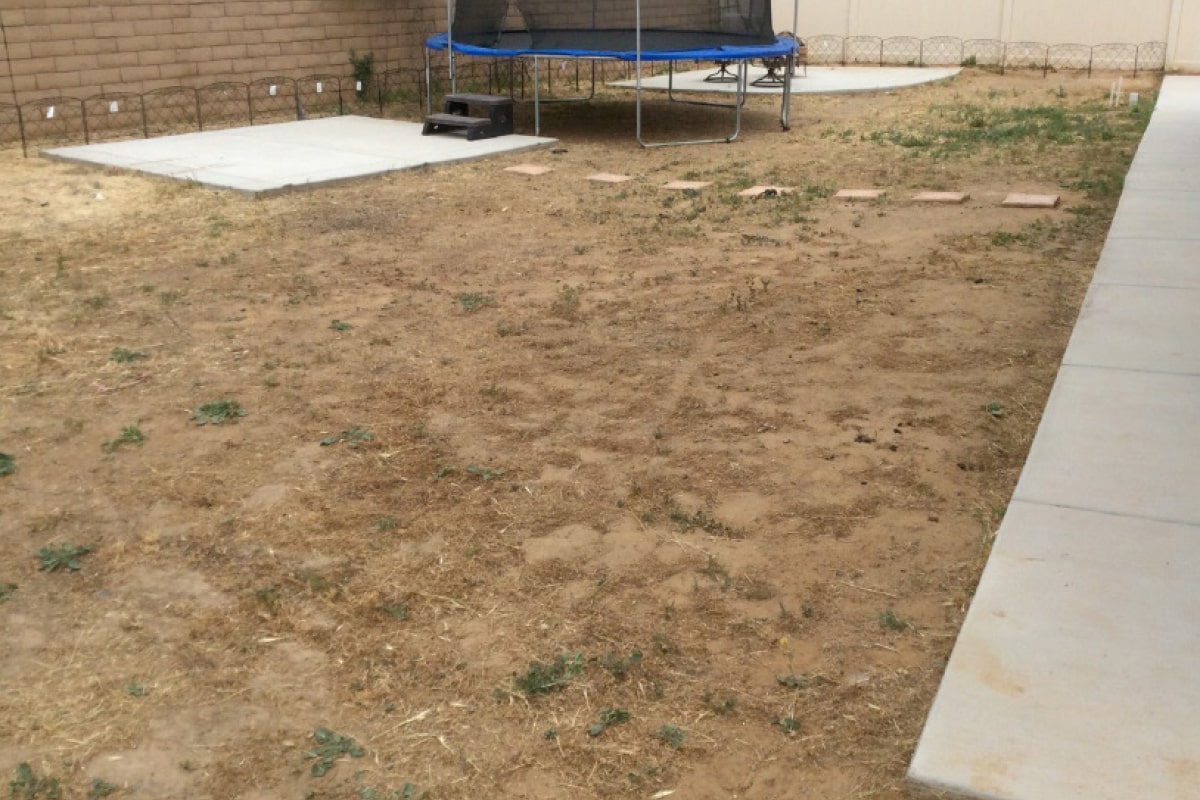
01. Remove Grass
It’s time to remove the lawn that has caused you so much frustration over the years! The water bills, brown spots, mowing, and mud; say goodbye to it all! We recommend removing 4 inches of your existing lawn or base. Keep in mind that soil builds up fast so we recommend having a dump trailer on site. Ensure that you take the proper measurements to dispose of your existing base properly. You can check your local city’s website for information on how to properly dispose of your soil. If this seems like too much work? We can help you with your professional install and save you all the time and labor. We have all the equipment and tools needed to do the job right!
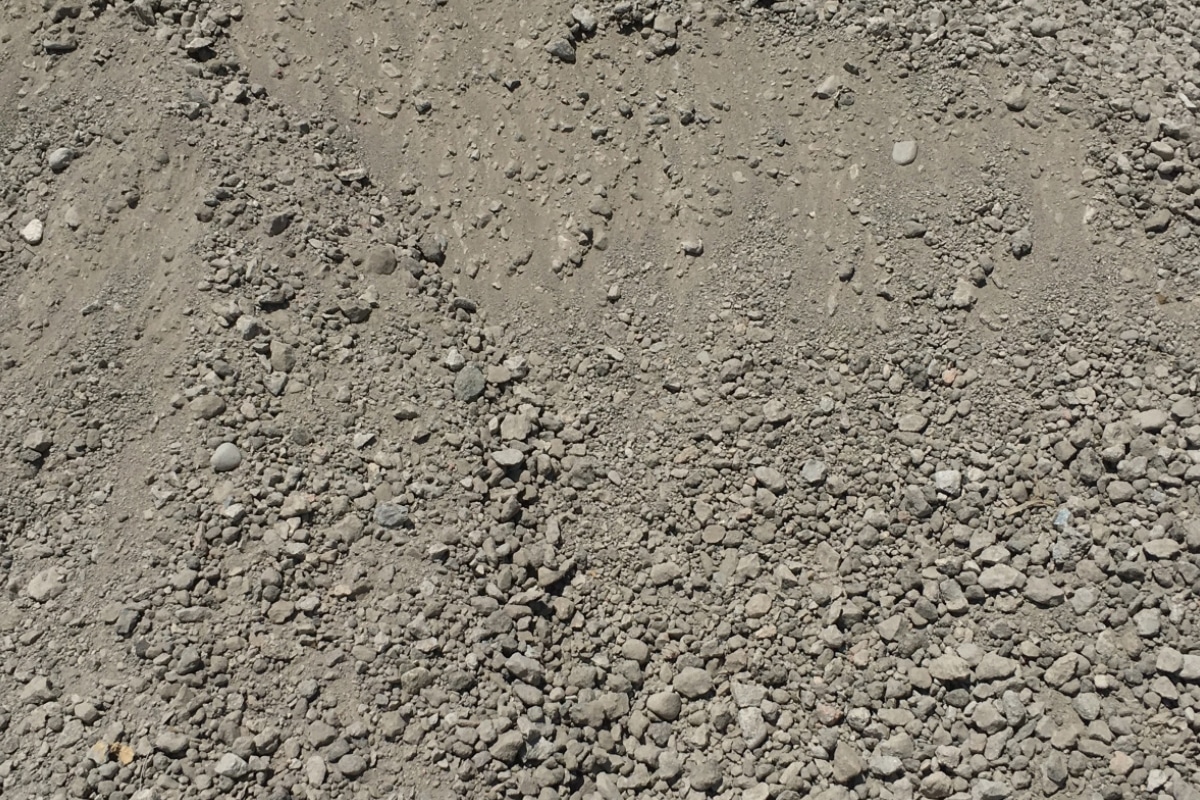
02. Add Base
Evenly spread 3 inches of class 2 road base (or similar) where you will be installing your artificial grass. The class 2 road base will make it easy to create a level platform with proper drainage. In most cases, we recommend using gopher wire and weed barrier to prevent vegetation and pest from sprouting through your new yard. Weed barrier is not recommend if you have pets. Lightly wet the area and go over it with a compactor until you achieve a smooth surface. Note: addition of weed barrier does not prevent growth of weeds from populating on top of synthetic grass from outside conditions such as wind, water etc.
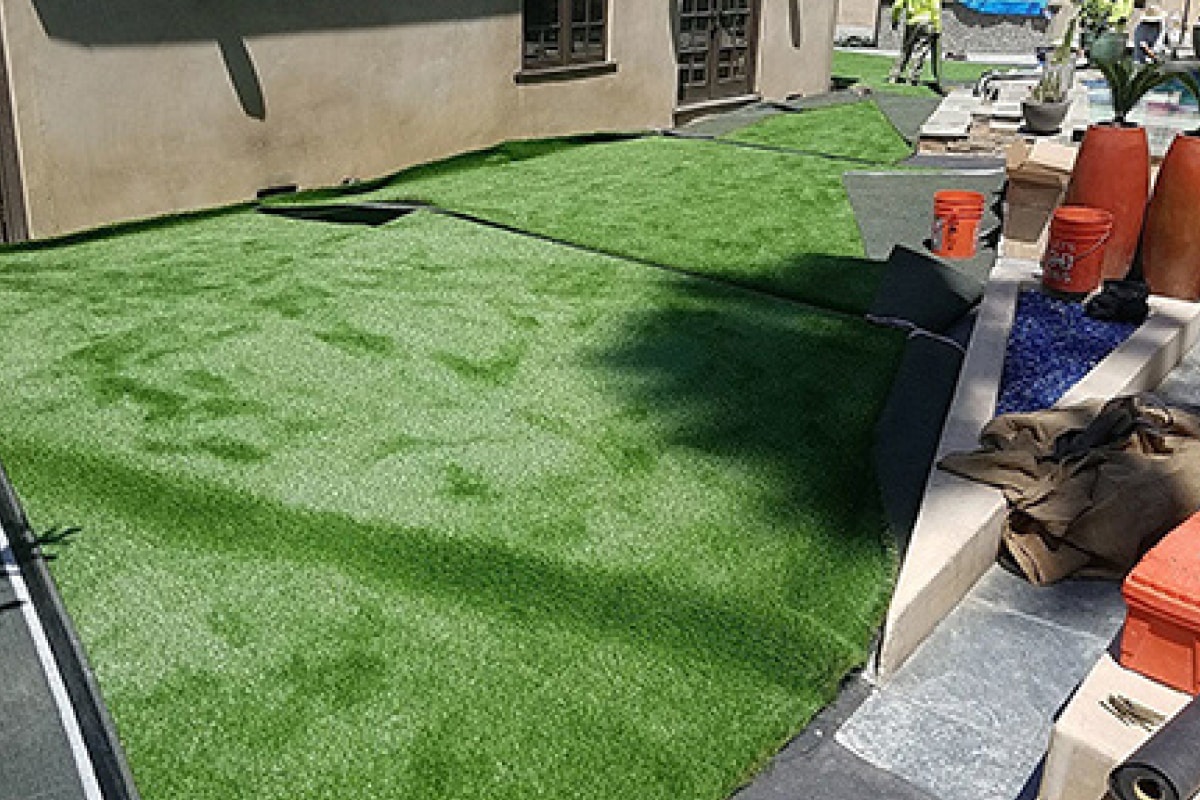
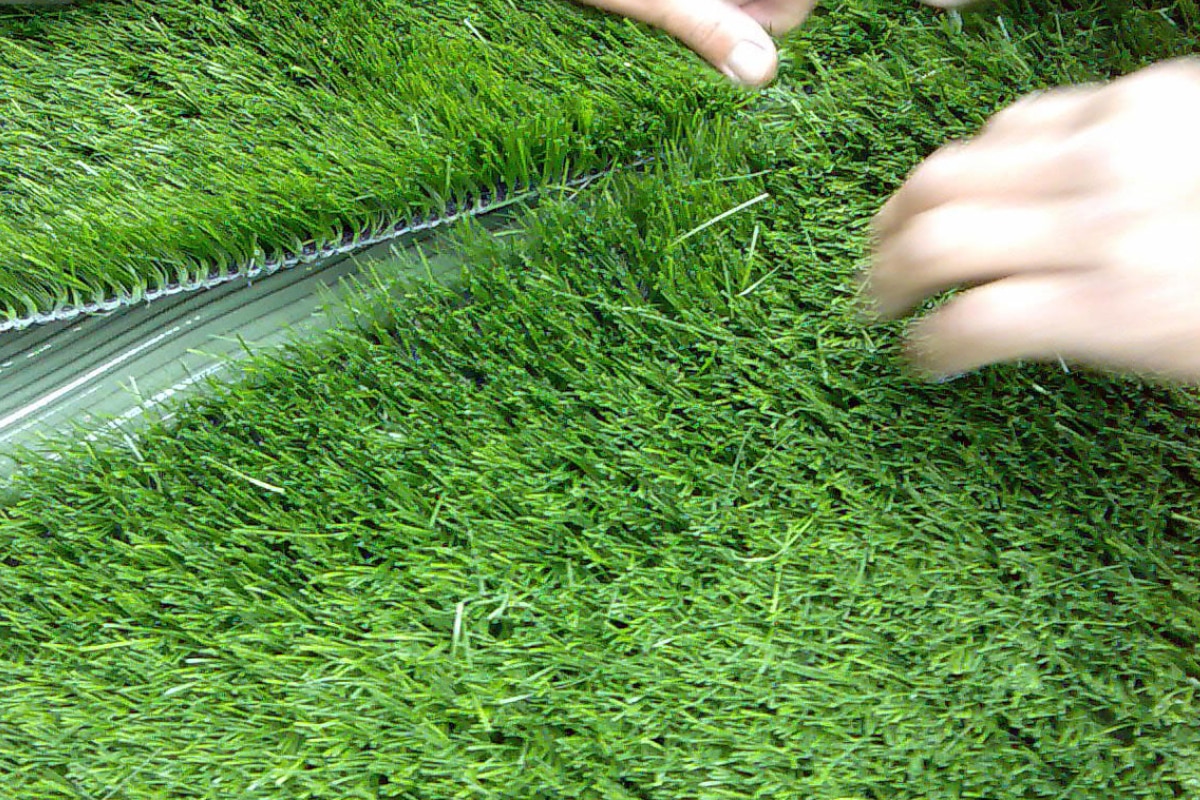
03. Lay Turf
Roll out your new artificial grass and be careful not to drag your turf across your freshly prepared base. It is best to allow your turf to sit in the sun for 30 minutes to an hour to let it expand prior to install. If you are working with multiple rolls, it is very important that the blade direction and stitch patterns are facing the same way. Crossing blade directions will result in poor appearance. Carefully nudge and move your artificial grass into the proper position. Wear knee pads to protect your knees and shins while manipulating the turf. A carpet kicker will come in handy to stretch and maneuver the turf.
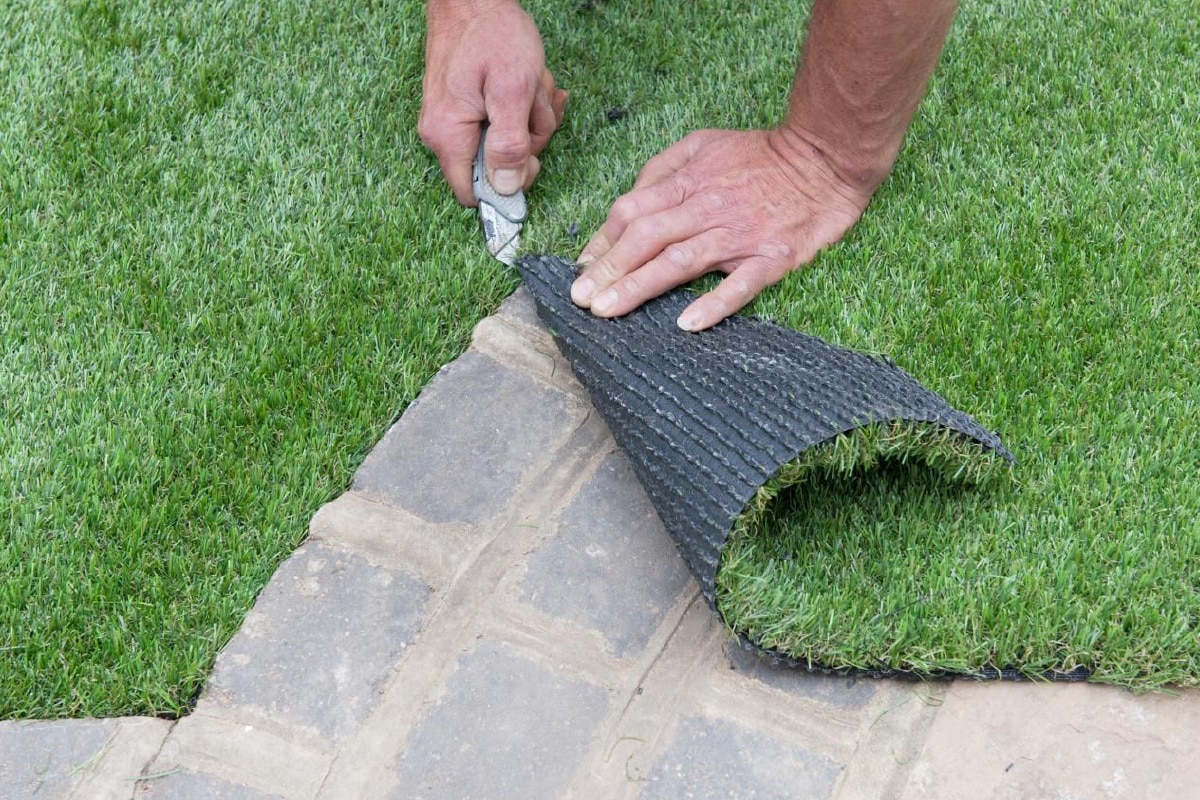
04. Cut to fit
Now it is time to make the appropriate cuts. We recommend using a box cutter or carpet knife. All cuts should be made from the back of the synthetic grass so you can see the stitch rows. When making the cut leave 1/4’’ to 1/2’’ of turf over the edge of your border. This will help with the finishing touches at the end of your project. If you are working with multiple pieces of synthetic grass this the perfect time to secure your seams with seam tape and glue. Be sure that the blades of your turf are laying the same direction when seaming and that the space between each stitch row matches. Place the red line of your seam tape down the center of the seam, and make an “S” pattern with your glue on each side of the red line. Move turf into place and let the glue set for 15 minutes. You can place your infill bags evenly on the seam to enforce contact with the seam tape.
05. Secure the Perimeter
Time to secure your artificial grass to the ground. Start by tucking the 1/4’’ to 1/2’’ edge you left into the border with a metal putty knife and hammer. We recommend using 40-D 5’’ non-galvanized turf nails or staples. Using a hammer, gently tap the nail or staple until it pierces the backing. Disperse the turf blades with fingers and drive the nail or staple into the ground. A nail or staple should be placed every 6 inches along the outside perimeter.” take out part about interior nails. Be sure to reinforce your seamed areas with a few nails or staples. We recommend brushing turf with a power broom or push broom before adding infill. This will help get the blade memory vertical.
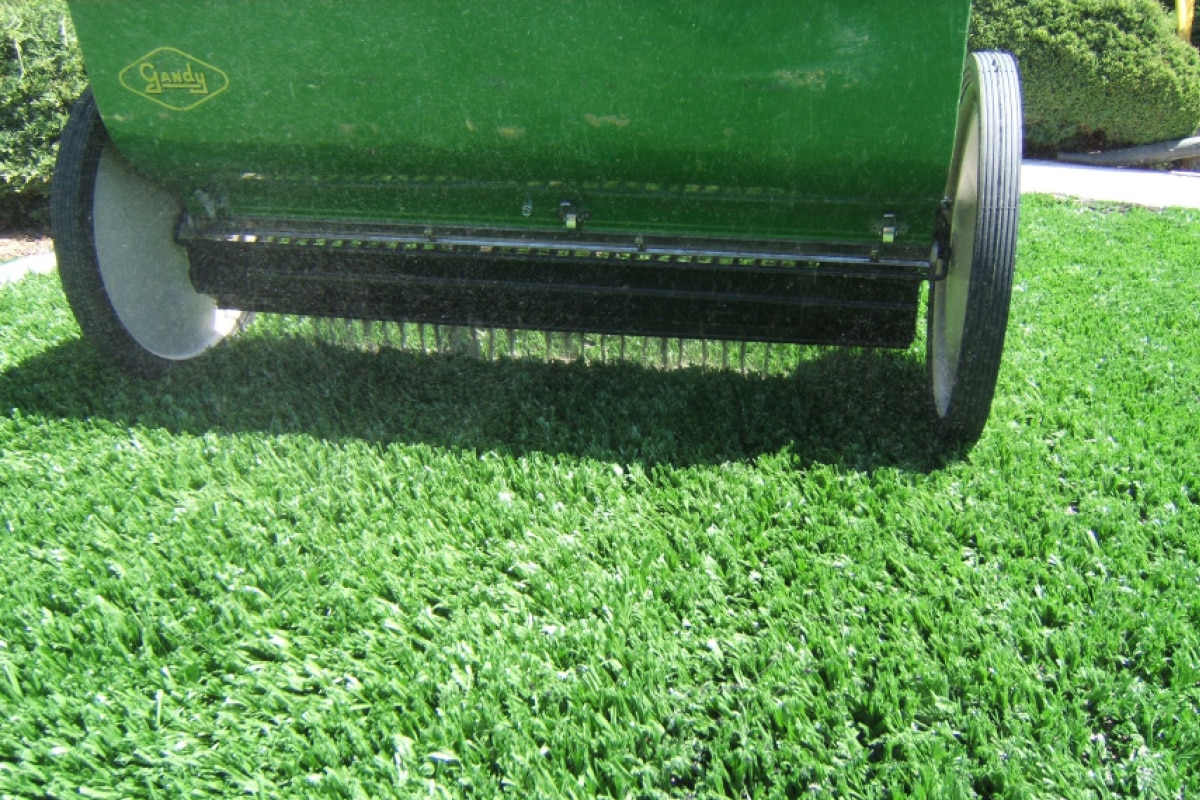
06. Spread Infill
It is extremely important that you meet the proper infill requirements for the turf system you have purchased. The proper amount of infill will affect the appearance, performance, and life span of your artificial grass. Please ask your sales rep for infill requirements if you are unsure of the requirements for your specific product. There are many different types of appropriate infills that may be used. Options include: Acrylic Coated Sand, Zeolite, Silica Sand or Crumb Rubber. We recommend using a drop spreader to evenly disperse the proper amount of infill.
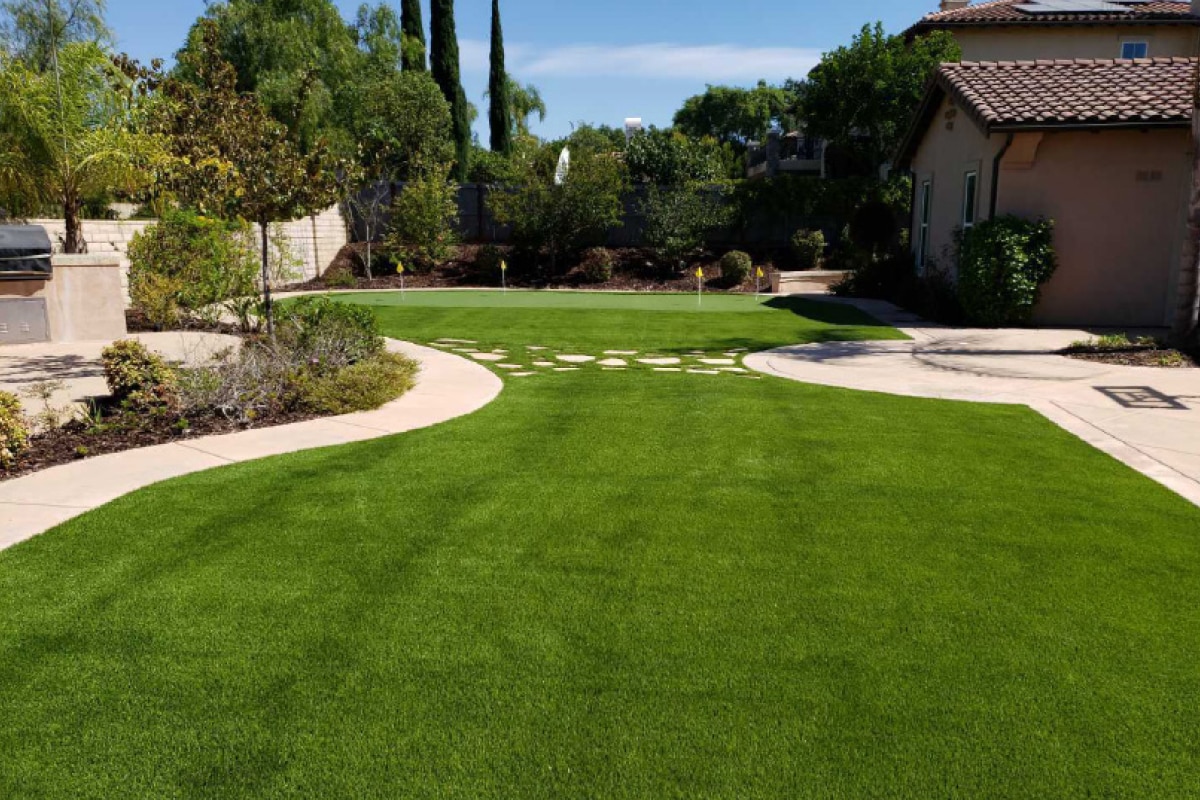
07. Brush Infill
Once the infill has been placed, use a power broom or another stiff bristled broom to brush the turf. This will assist the turf blades in standing straight up and make your new artificial lawn look like freshly mowed grass. Repeat the process until your infill is spread evenly and your seams disappear. Brushing up your turf blades will be the only quarterly maintenance We recommend outside of proper sanitation if you have pets. Once the infill has been placed, brush against the grass blades to get the blades standing. Lastly, rinse the grass of all remaining dust and infill.
Turf Products
Contact Us
© 2018-2026 Turf Distributors. All Rights Reserved — The contents of all material available on this internet site are copyrighted by Turf Distributors corporation unless otherwise indicated. All rights are reserved by Turf Distributors, and content may not be reproduced, downloaded, disseminated, published, or transferred in any form or by any means, except with the prior written permission of Turf Distributors, or as indicated below. Copyright infringement is a violation of federal law subject to criminal and civil penalties. For information pertaining to our privacy policy or SMS/MMS terms and conditions, please refer to our privacy policy page, terms of use & conditions page, or our SMS/MMS terms & conditions page.